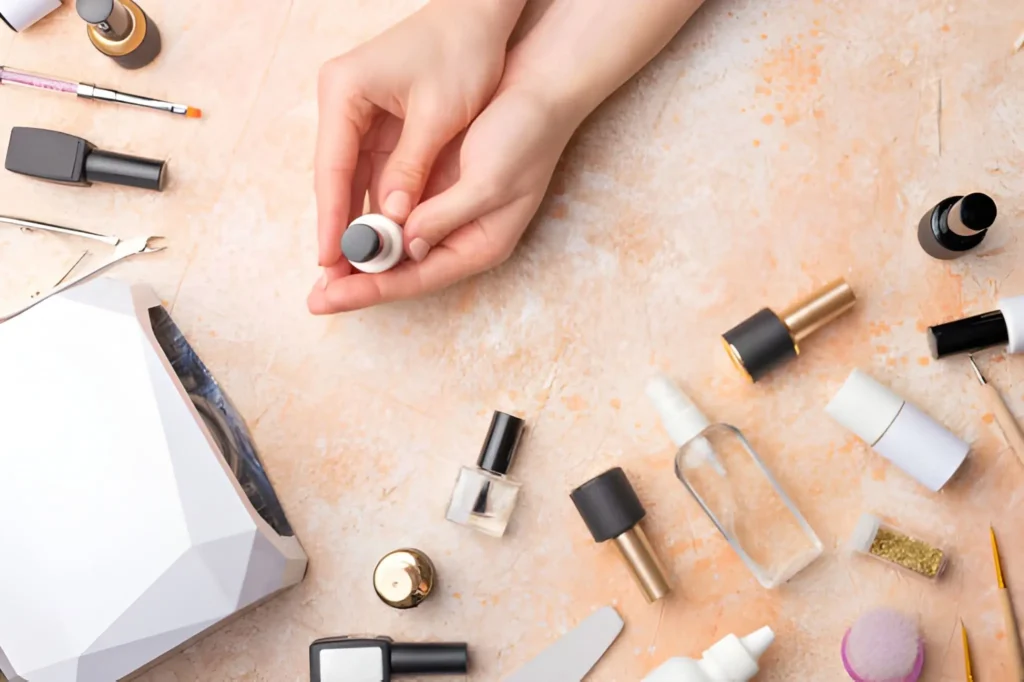
Shopping for nail products online can feel overwhelming when you’re staring at hundreds of options with varying prices and features. When you buy gel nail polish kit online, you’re investing in equipment that should last months or even years if chosen wisely. The market offers kits ranging from $30 budget sets to $200+ professional-grade systems. Quality differences aren’t just about branding—they involve lamp technology, gel formula chemistry, and accessory durability. Knowing what actually matters versus marketing hype helps you avoid wasting money on kits that crack, peel, or damage your nails within weeks.
Understanding LED Versus UV Lamp Technology
This is probably the most confusing part when browsing online. UV lamps use fluorescent bulbs that emit broad-spectrum ultraviolet light and typically require 2-3 minutes of curing time per coat. They need bulb replacements every few months because the output degrades. LED lamps emit specific wavelengths (usually 395-405nm) that cure gel polish faster—often in 30-60 seconds.
I switched from UV to LED after burning through bulbs every two months. The upfront cost was higher, but LED lamps last around 50,000 hours of use. That’s basically forever for home use. They’re also cooler and don’t generate as much heat, which some people find uncomfortable during curing.
Check the wattage when comparing lamps online. Lower wattage (like 6W) means longer curing times and potentially incomplete hardening. I’d say 48W is the sweet spot for LED lamps—fast enough to be convenient but not so powerful that it causes heat spikes.
Formula Compatibility Isn’t Universal
Here’s something most product listings won’t tell you clearly: not all gel polishes work with all lamps. Some brands formulate their gels to cure specifically under their own lamp systems. When you buy a kit online, check if the seller mentions whether you can use other brands’ polishes with their lamp.
Look for kits that explicitly say they’re compatible with multiple brands or that use standard photoinitiator chemistry. The ingredient list should include compounds like phosphine oxide or benzophenone derivatives—these are the molecules that respond to UV/LED light.
I made the mistake of buying a cheap polish set separately from my lamp, and some colors never fully cured. They stayed tacky even after five minutes under the light. Turns out those polishes needed different wavelengths than my lamp produced.
Reading Reviews the Right Way
Product reviews online are helpful but you need to filter the noise. Ignore reviews that just say “love it!” or “terrible!” without specifics. Look for reviewers who mention how long they’ve been using the kit, what problems they encountered, and how the company responded to issues.
Pay attention to complaints about the lamp not curing certain colors—this usually means weak output or incompatible wavelengths. If multiple people mention the gel peeling within days, that’s a red flag about formula quality or poor instructions.
Watch out for fake reviews. If every review is five stars with similar wording posted within a few days, that’s suspicious. A good product should have mostly positive reviews with some constructive criticism mixed in.
What Should Actually Come in the Kit
A complete starter kit should include base coat, top coat, at least a few color options, the curing lamp, prep solution or alcohol wipes, a nail file, buffer, cuticle pusher, and removal wraps or clips. Some kits skip essential items to hit a lower price point.
Don’t assume more colors mean better value. I’ve seen kits with 20 tiny bottles that barely last two manicures each. I’d rather have 5-6 full-size bottles of quality polish than a rainbow of unusable shades.
The lamp should have a timer function—manual shutoff is annoying and easy to mess up. An automatic sensor that turns on when you insert your hand is convenient but not essential.
Storage and Maintenance Extends Kit Life
Keep your gel polishes in a cool, dark place. Heat and sunlight can break down the photoinitiators and change the consistency. My bathroom cabinet works fine, but I wouldn’t store them near a sunny window or heating vent.
Clean your lamp’s sensor and bulbs regularly with rubbing alcohol. Polish residue builds up and can interfere with curing. Check the power cord for damage periodically—these kits use specific voltage and damaged cords can be fire hazards.
Wipe bottle necks after each use before closing. Dried gel on the threads makes bottles hard to open and lets air in, which can cause the polish to thicken prematurely.
When to Replace Components
Brushes in gel polish bottles get crusty over time. If you notice the bristles are stiff or separated, it’s time for a new bottle. Trying to work with damaged brushes leads to streaky application.
Files and buffers wear out. Once a file feels smooth instead of gritty, replace it. Using worn-out files takes forever and can cause heat damage to your nail bed from excessive friction.
Watch your lamp’s performance. If curing times start getting noticeably longer or some nails don’t cure fully, the LEDs might be degrading. This usually happens after years of use, not months.
Also Read–Customer Segmentation Models That Drive Retention in Fintech


