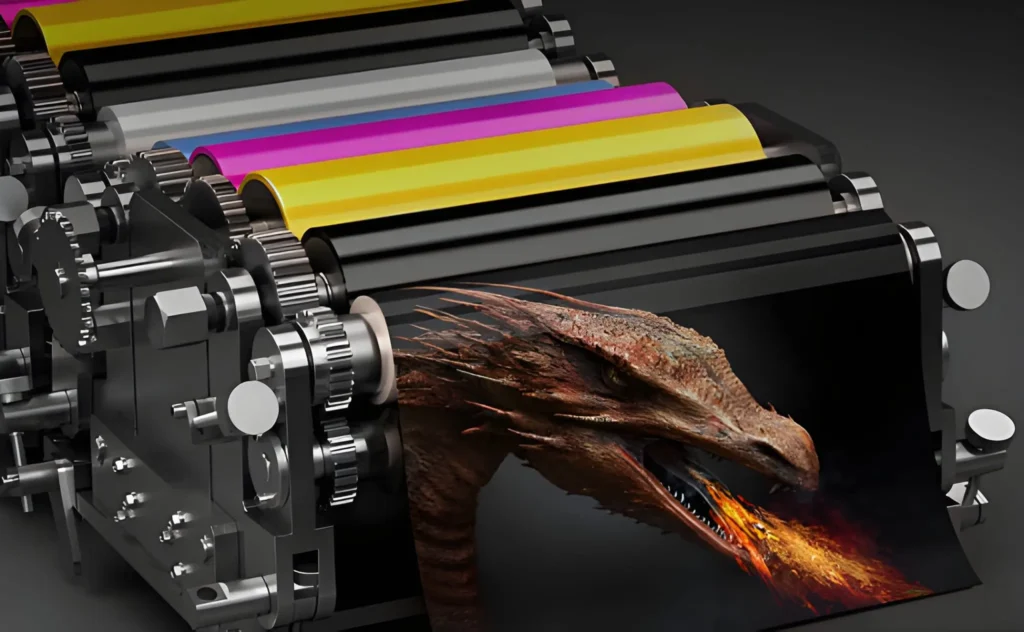
Graphic designers and visual artists need printing equipment that translates digital files into physical output without compromising color accuracy or detail. An epson graphic printer addresses these demands through specialized inkjet technology, advanced color management systems, and precise media handling capabilities. These printers differ from standard office equipment by offering wider color gamuts, higher resolution capabilities, and support for specialty media types. Professional models incorporate features like spectrophotometer calibration, multiple ink configurations, and dedicated image processing hardware that together ensure what you see on screen closely matches the printed result—a challenge that involves complex color science and mechanical precision working in harmony.
Color Management and ICC Profiling
The gap between screen colors (RGB) and print colors (CMYK or extended gamut) creates the biggest frustration for designers. Your monitor shows millions of colors using additive light, while printed inks use subtractive color mixing with a much narrower range. Epson graphic printers handle this through sophisticated color management engines that interpret ICC profiles.
An ICC profile is basically a translation dictionary between your design file and the printer’s ink capabilities on specific paper. The profile describes how each RGB value should convert to ink percentages to achieve the closest possible match. Without accurate profiles, your vibrant screen colors print muddy or oversaturated.
Epson includes basic profiles for their branded papers, but these are generic averages. Custom profiling using a spectrophotometer measures actual output from your specific printer and creates a tailored profile. I’ve measured differences of 5-8 Delta E units between generic and custom profiles—easily visible to the eye, especially in skin tones and neutrals.
The printer’s RIP software or driver applies these profiles during printing. Some Epson models include hardware-based color processing that offloads calculations from your computer, speeding up workflow when printing large files with complex transparency effects.
Ink Technology and Droplet Control
Epson’s graphic printers use Variable-Sized Droplet Technology where individual nozzles can fire different droplet volumes—typically 3, 4.5, and 9 picoliters. Smaller droplets render fine details and smooth gradients. Larger droplets fill solid areas faster without sacrificing quality.
The precision here is kind of absurd. A 3-picoliter droplet measures about 8 microns in diameter when it hits the paper. That’s smaller than a human red blood cell. The printhead positions these droplets with 1/2880-inch accuracy in some models.
Pigment-based UltraChrome inks offer superior longevity compared to dye inks—we’re talking 200+ years for color prints under glass versus maybe 20 years for dyes. But dye inks produce slightly wider color gamut and more vibrant output. It’s a trade-off between permanence and pop.
I print exhibition work that needs to last, so pigment inks are non-negotiable. For commercial work with short-term display requirements, dye-based systems might save money. The ink formulation affects media compatibility too—some specialty papers work better with one type or the other.
Advanced Resolution and Detail Rendering
Listed specifications like 2880×1440 dpi sound impressive but don’t directly indicate print quality. That resolution describes the printer’s mechanical precision—how closely it can position dots—not the apparent image detail you perceive.
What matters more is how the printer’s algorithm converts continuous tone images into dot patterns. Epson uses screening techniques that minimize visible patterns while maintaining edge sharpness. Some of their screening algorithms are proprietary, but they generally use stochastic (random) or hybrid methods rather than traditional halftone screens.
In testing, I printed the same image file at 1440 dpi with standard screening and at 2880 dpi with advanced screening. The higher resolution showed marginal improvement in fine text and vector lines but was nearly indistinguishable in photographic content when viewed beyond 12 inches. For many graphic design applications, the speed advantage of lower resolution outweighs minimal quality gains.
Line accuracy particularly matters for graphic work with text, logos, and geometric shapes. Epson graphic printers maintain line straightness within ±0.1% of the specified length across 60-inch widths. That means a 1000mm line prints between 999mm and 1001mm—tight enough for most design applications except technical engineering drawings requiring even stricter tolerances.
Media Versatility and Handling
Graphic printers need to handle everything from thin tissue paper to thick canvas and rigid boards. Epson models vary significantly in their media handling capabilities—entry-level units might handle papers up to 0.5mm thick, while production models accept materials up to 1.5mm.
The paper path design affects what you can successfully print. Front-loading systems with minimal bends accommodate delicate or textured papers better than designs that wrap media around multiple rollers. Canvas, for instance, needs gentle handling to avoid surface cracking.
Media sensors detect paper thickness and surface texture, automatically adjusting platen gap and ink density. This automation works reasonably well but I still verify settings manually for expensive specialty media. Once you’ve ruined a $50 sheet of fine art paper because the printer guessed wrong, you get more cautious.
Edge holding mechanisms must grip firmly without marking the media. Cheaper systems use aggressive wheels that can indent soft papers. Better designs distribute pressure across multiple contact points or use edge-only grips that never touch the printable area.
Borderless Printing Capabilities
True borderless printing requires the printhead to extend ink slightly beyond the media edges. Overspray gets absorbed by padding underneath, which needs periodic replacement as it becomes saturated. Epson graphic printers handle borderless output on roll media up to their maximum width—24, 44, or 64 inches depending on model.
Sheet media borderless printing is trickier. The printer needs to grip sheets without blocking the borderless edge, which limits maximum sheet size compared to bordered printing. An Epson SureColor P900 handles 17-inch borderless prints but requires bordered mode for anything wider on sheet media.
I’ve noticed borderless quality varies with media type. Glossy papers hold ink on the surface, producing clean edges. Porous papers allow ink to wick, sometimes creating slight bleeding beyond intended boundaries. Test your specific media before committing to borderless for client work.
Print Speed and Production Efficiency
Speed specifications always quote draft mode on plain paper—basically useless information. Real-world speed depends on quality settings, media type, and file complexity. An Epson SC-P700 prints a 13×19 inch photo in about 2 minutes at high quality. The same printer takes 5+ minutes in highest quality mode.
Bi-directional printing speeds up output by firing ink during both left and right printhead passes. Some media combinations show visible banding in bi-directional mode—subtle but noticeable in solid color areas. Unidirectional printing eliminates this at the cost of roughly doubled print time.
For production environments, queue management matters as much as individual print speed. Epson’s Print Layout software lets you nest multiple images on a single sheet or roll, reducing waste. I typically save 15-20% on media costs through efficient nesting versus printing each job separately.
Calibration and Consistency Over Time
Printhead nozzles can clog, ink formulations shift with temperature changes, and paper characteristics vary between batches. Regular calibration maintains color accuracy as these factors change.
Built-in calibration routines measure actual output using sensors and adjust ink density to compensate for drift. Entry-level printers require manual calibration where you print a target, measure it with a separate spectrophotometer, and input corrections. Automatic systems streamline this to maybe 10 minutes every few weeks.
I calibrate weekly during busy periods and monthly when printing less frequently. The measurable Delta E drift between calibrations averages 2-3 units in my experience—right at the threshold of visible difference for trained observers.
Also read-Customer Segmentation Models That Drive Retention in Fintech


